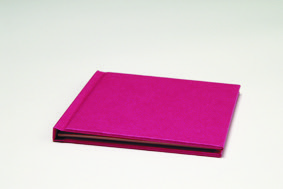
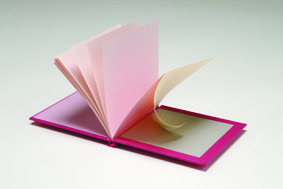
Easy, Fun, Educationally!
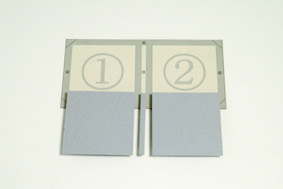
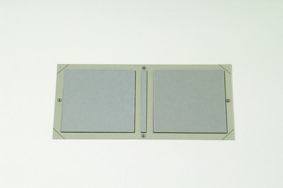
1. The adhesive inside of the cover sheet.
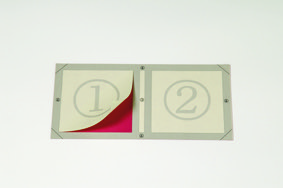
2. Peel off ① and ② place the square piece of cardboard.
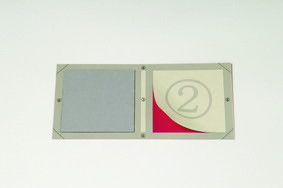
3. Place the square piece of cardboard.
4. In the same manner, peel off ③.
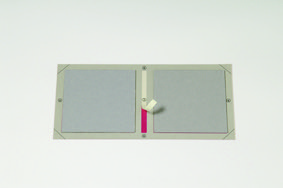
5. Place a slender piece of cardboard.
This will be the spine.

6. Turn the cover sheet over and apply gentle pressure to seal the pieces firmly.
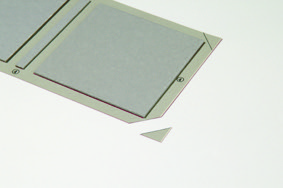
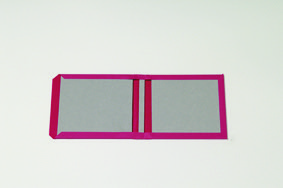
7. Cut the corners diagonally on the printed line.
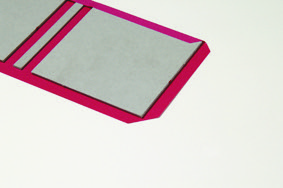
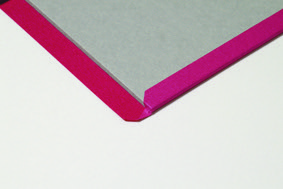
8. Peel off all ④ off. Fold the two horizontal sides first, tightly wrapping them around the cardboard. To prevent wrinkles, start folding from the corner.
9. Before folding the vertical sides, crease the edge onto the cardboard neatly, as shown above.
10. Wrap the two vertical sides, folding them from the center. Make sure they are affixed firmly.
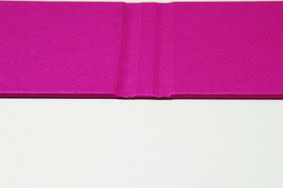
11. The outside of cover sheet: Gently score both sides of spine with your fingertip, creating grooves.
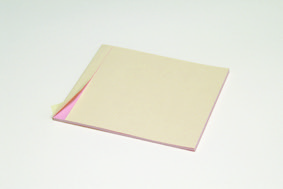
12. Peel off the spine part and place the booklet on the cover.
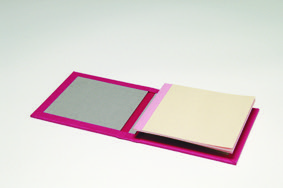
13. The inside of the cover sheet: Place the booklet on the right side of the cover, leaving equal spacing (about 1/8″) on the outer edges.
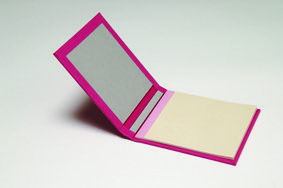
14. Lift the other side of the cover, wrapping the booklet.
15. Align the edges of the front and the back cover.
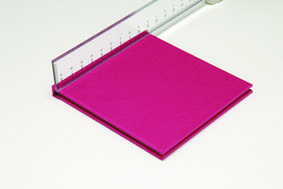
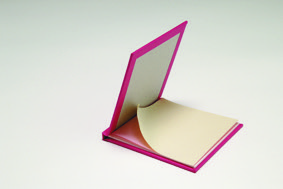
16. Place a ruler on the gutter, and press firmly. Do the same on the back cover.
17. Open the book cover carefully, and peel one side of the booklet from the booklet. Close the cover and press to affix the inside of the front cover.
18. Do the same on another side.
